
Indiesew Shirt Month: Willamette + 5 Tips for Sewing Your First Shirt
This post first appeared on the Indiesew Blog for their Shirt month event on 26 February 2019
This post is my honest opinion using fabric and a pattern I received free of charge from Indiesew.

Between making them for my son, husband, and myself, I’d say sewing shirts is one of my favorite projects. So it was such a pleasure to write up this post for Shirt Month—and, finally find the shirt for me. Read on for my new favorite, the Willamette, plus five tips for sewing your first shirt!


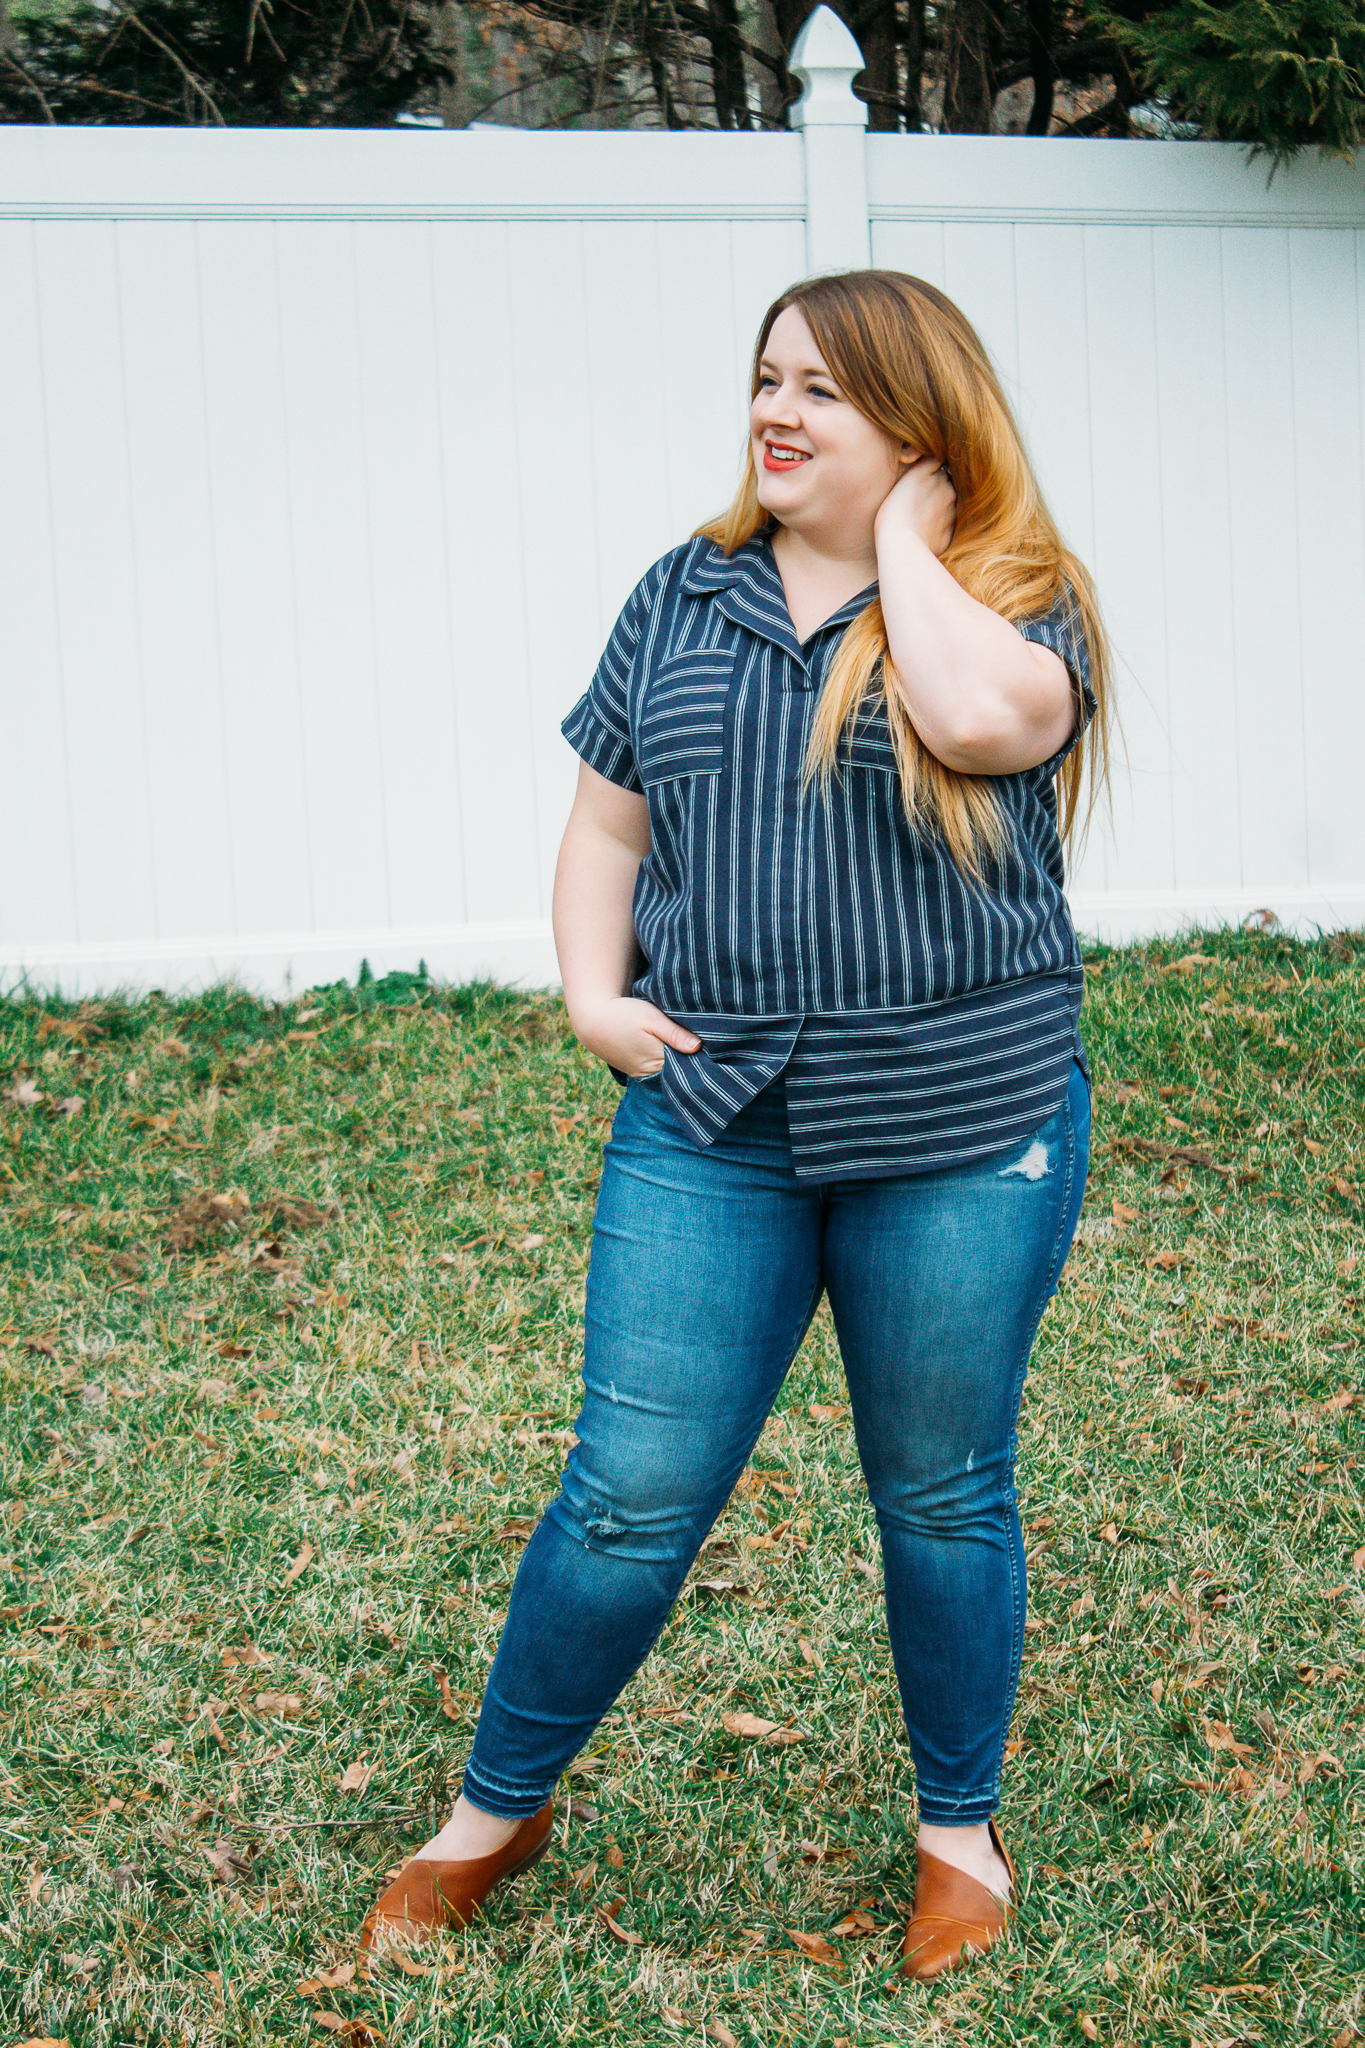
I’ve tried a handful of collared shirts over the last year but none of them were quite what I was looking for. I decided to give the Willamette Shirt by Hey June Handmade a try for Shirt Month and I liked it so much, I made two! I’m a big fan of the dolman sleeve (check out my tips for why this is a plus!) and the retro style collar with no collar stand. I always like the casual styling of button ups on others. However, whenever I wear them myself I don’t feel as casual or relaxed as I envision, and I think it comes down to how collar stands or even partial stands look on me. The one piece collar of the Willamette gives me the relaxed feel that I’ve been after. And between the sleeve cuffs, pockets, collar, and waist seam, this shirt offers opportunities for color blocking or pattern play, which I took advantage of with this lovely navy stripe shirting from the Indiesew shop.


As I documented my Shirt Month progress on Instagram, I received many comments from individuals who hadn’t made a shirt before because they were intimidated by them. This was in the back of my mind as I worked on my Willamette, and I realized that the Willamette is actually a great “adventurous beginner” garment. Take a look at my Five Tips for Sewing Your First Shirt, and you’ll see why!
Five Tips for Sewing Your First Shirt
Pick a pattern with a dolman/drop sleeve. This style has a more forgiving shape by eliminating having to fit shoulders and a set in sleeve, and allows you to focus on fitting the main body and get a feel for sewing collars and shirt facings. A short sleeve shirt like the Willamette will save you the trouble of sewing plackets and cuffs, and will wear nicely under sweaters and cardigans too. This shirt also has no collar stand, which simplifies the collared shirt to degree.
Use a solid fabric or one with a non-directional print. if you make alterations as you sew it can be tricky to re-match patterns like stripes and plaid. Choose something like a non-directional floral so you can fit and adjust without worrying about that aesthetic detail. However, the blocking options of the Willamette make it a lot easier to get away without having to match too many stripes.
If your shirt has french seams or flat felled seams, consider doing a baste fit of major seams to get an idea of where you might need to tweak fit. That way, you don’t finish all of your seams only to find out you have to rip out multiple rows of stitches to change the fit.
Check the shirt length. Cropped shirts are popular right now but it might not be your style or you might be much shorter than the pattern is drafted for. Use your pattern piece and hold it against your body (draw in the seam allowances so you know where the final hem will be—I always think I can just eyeball it but I’m pretty much never correct) to check the length and adjust according to the look you want (crop, tunic, standard shirt, etc).
If you’re like me and button plackets tend to pull open on your ready to wear shirts but you’re happy with the fit in the rest of the body, you might want to try a Full Bust Adjustment. There are endless FBA tutorials online, but here’s one from Hey June specifically for dolman sleeve tops. A good rule of thumb is to choose your size based on your high bust and add the FBA, that way the shirt will fit well though the body rather than being oversized everywhere just to accommodate your bust line.

And bonus: the Willamette looks like a regular collared shirt at first blush but its actually a popover! So if doing buttons and buttonholes is intimidating, this shirt gives you the look of a button up but the ease and coverage of a regular shirt. You can even leave the bottom of the shirt unattached like I did so you can tie it up. Conversely, buttons and buttonholes can easily be added instead of sewing the front bodices together. What a workhorse, I tell ya!

If you’ve wanted to make a collared or button up style of shirt, the Willamette can really set you up for success. I’ve enjoyed the two I’ve made so far and already have plans for some fun novelty ones for summer!