
Joy Jacket x Chalk & Notch + A Giveaway
This post is my honest opinion using a pattern I received free of charge as a pattern tester for Chalk & Notch.
The past couple months have been filled with some more intense sewing projects---my trench coat, a wool coat, and jeans (coming soon!)--and I was feeling pretty done with outerwear for the foreseeable future. But then Gabriela of Chalk & Notch shared a tester call for her Joy Jacket, and I can never say no to Chalk & Notch! So for the third time in just as many months I went back to making another lined outerwear piece--and possibly my favorite of the three.

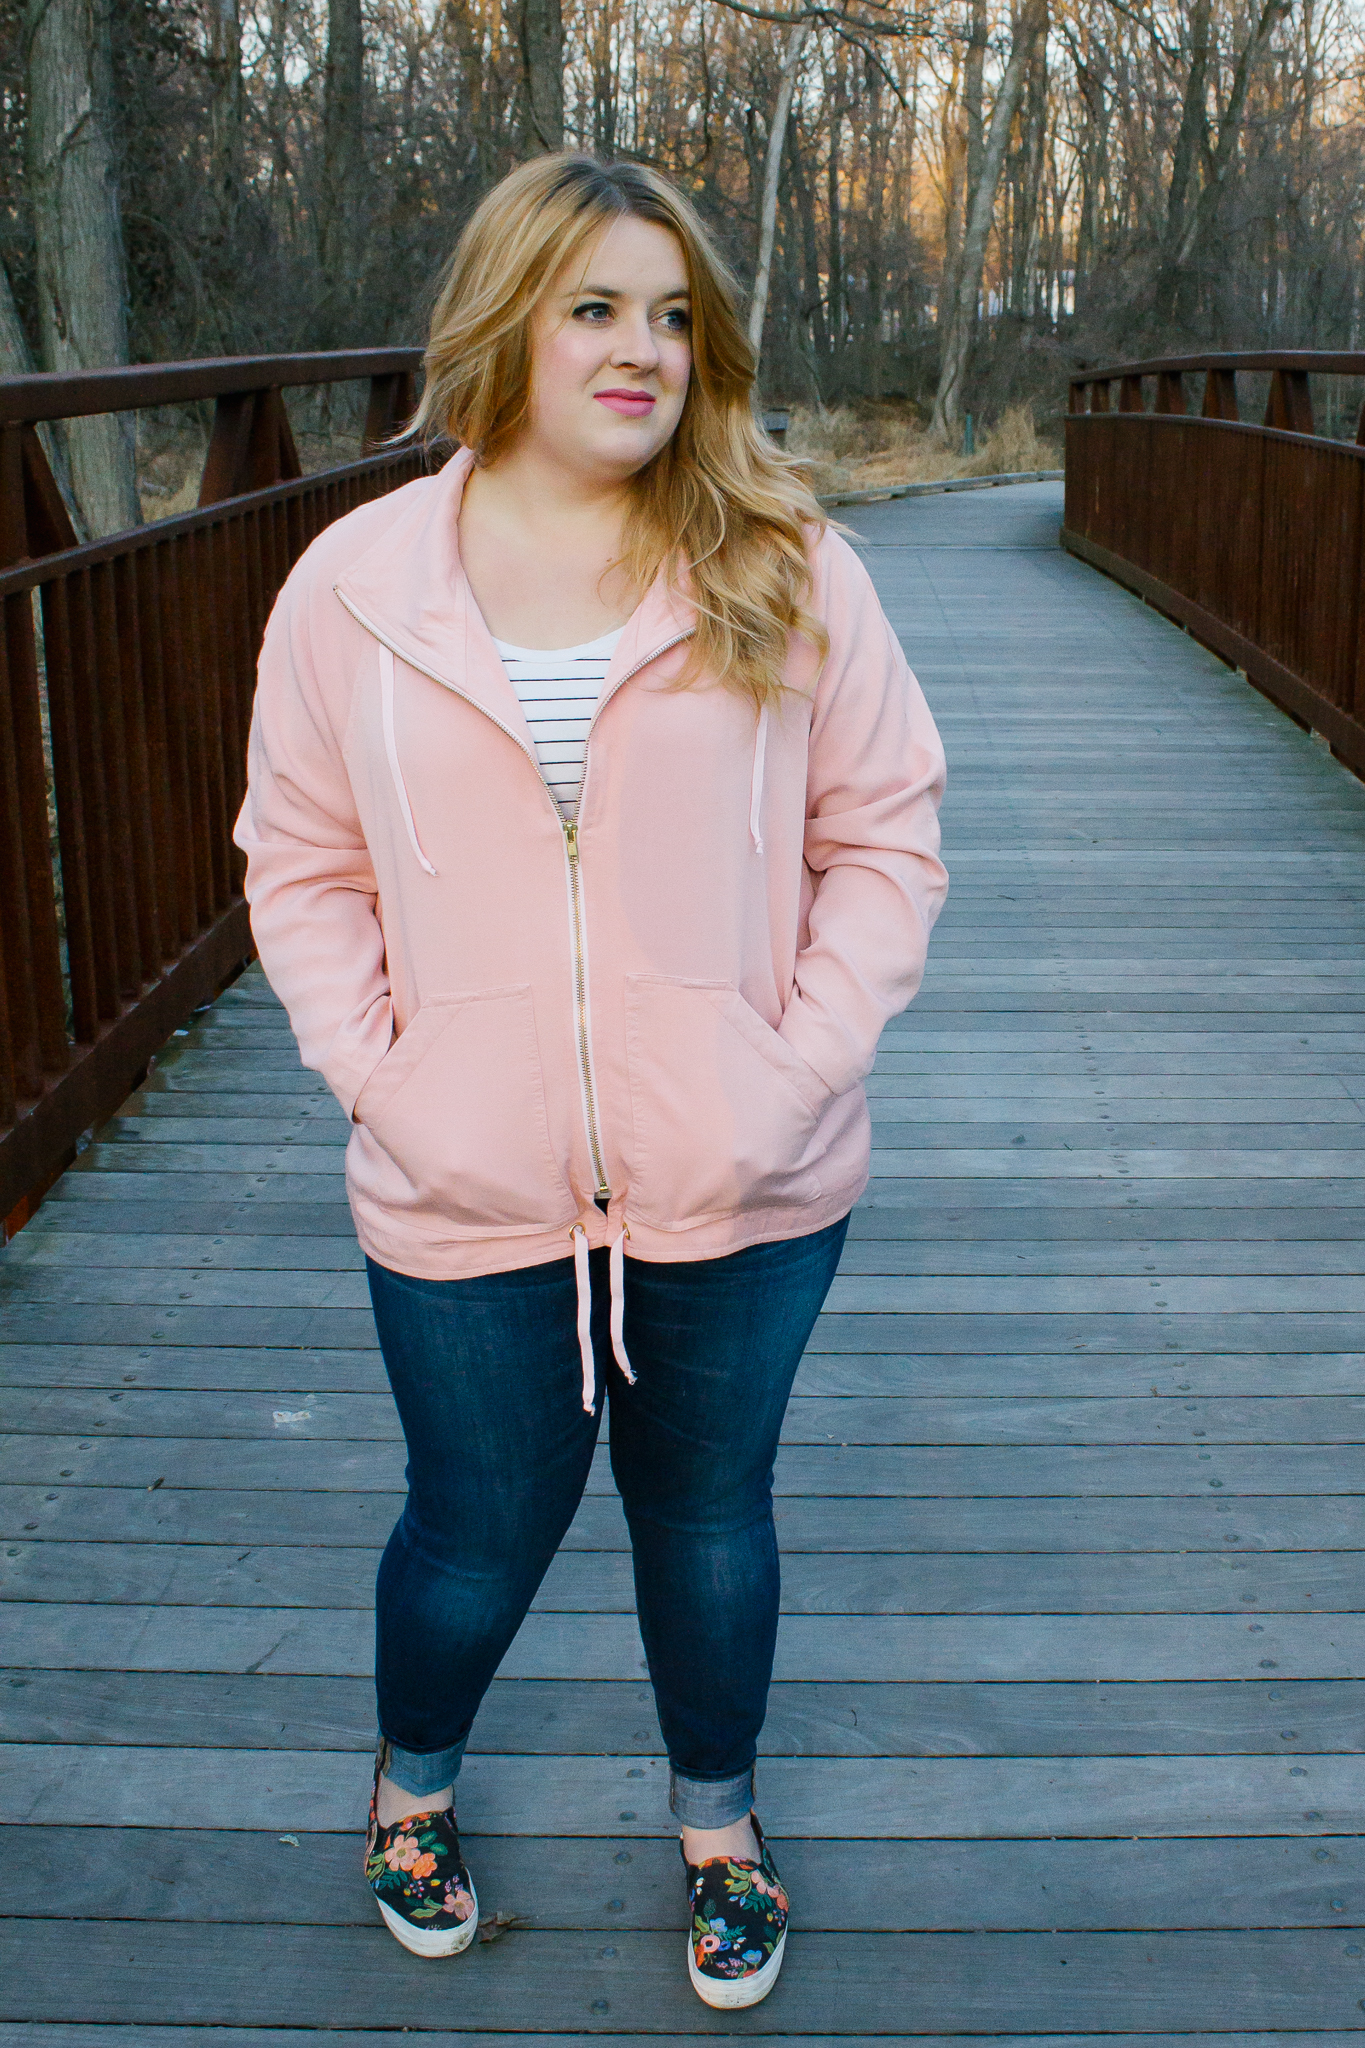
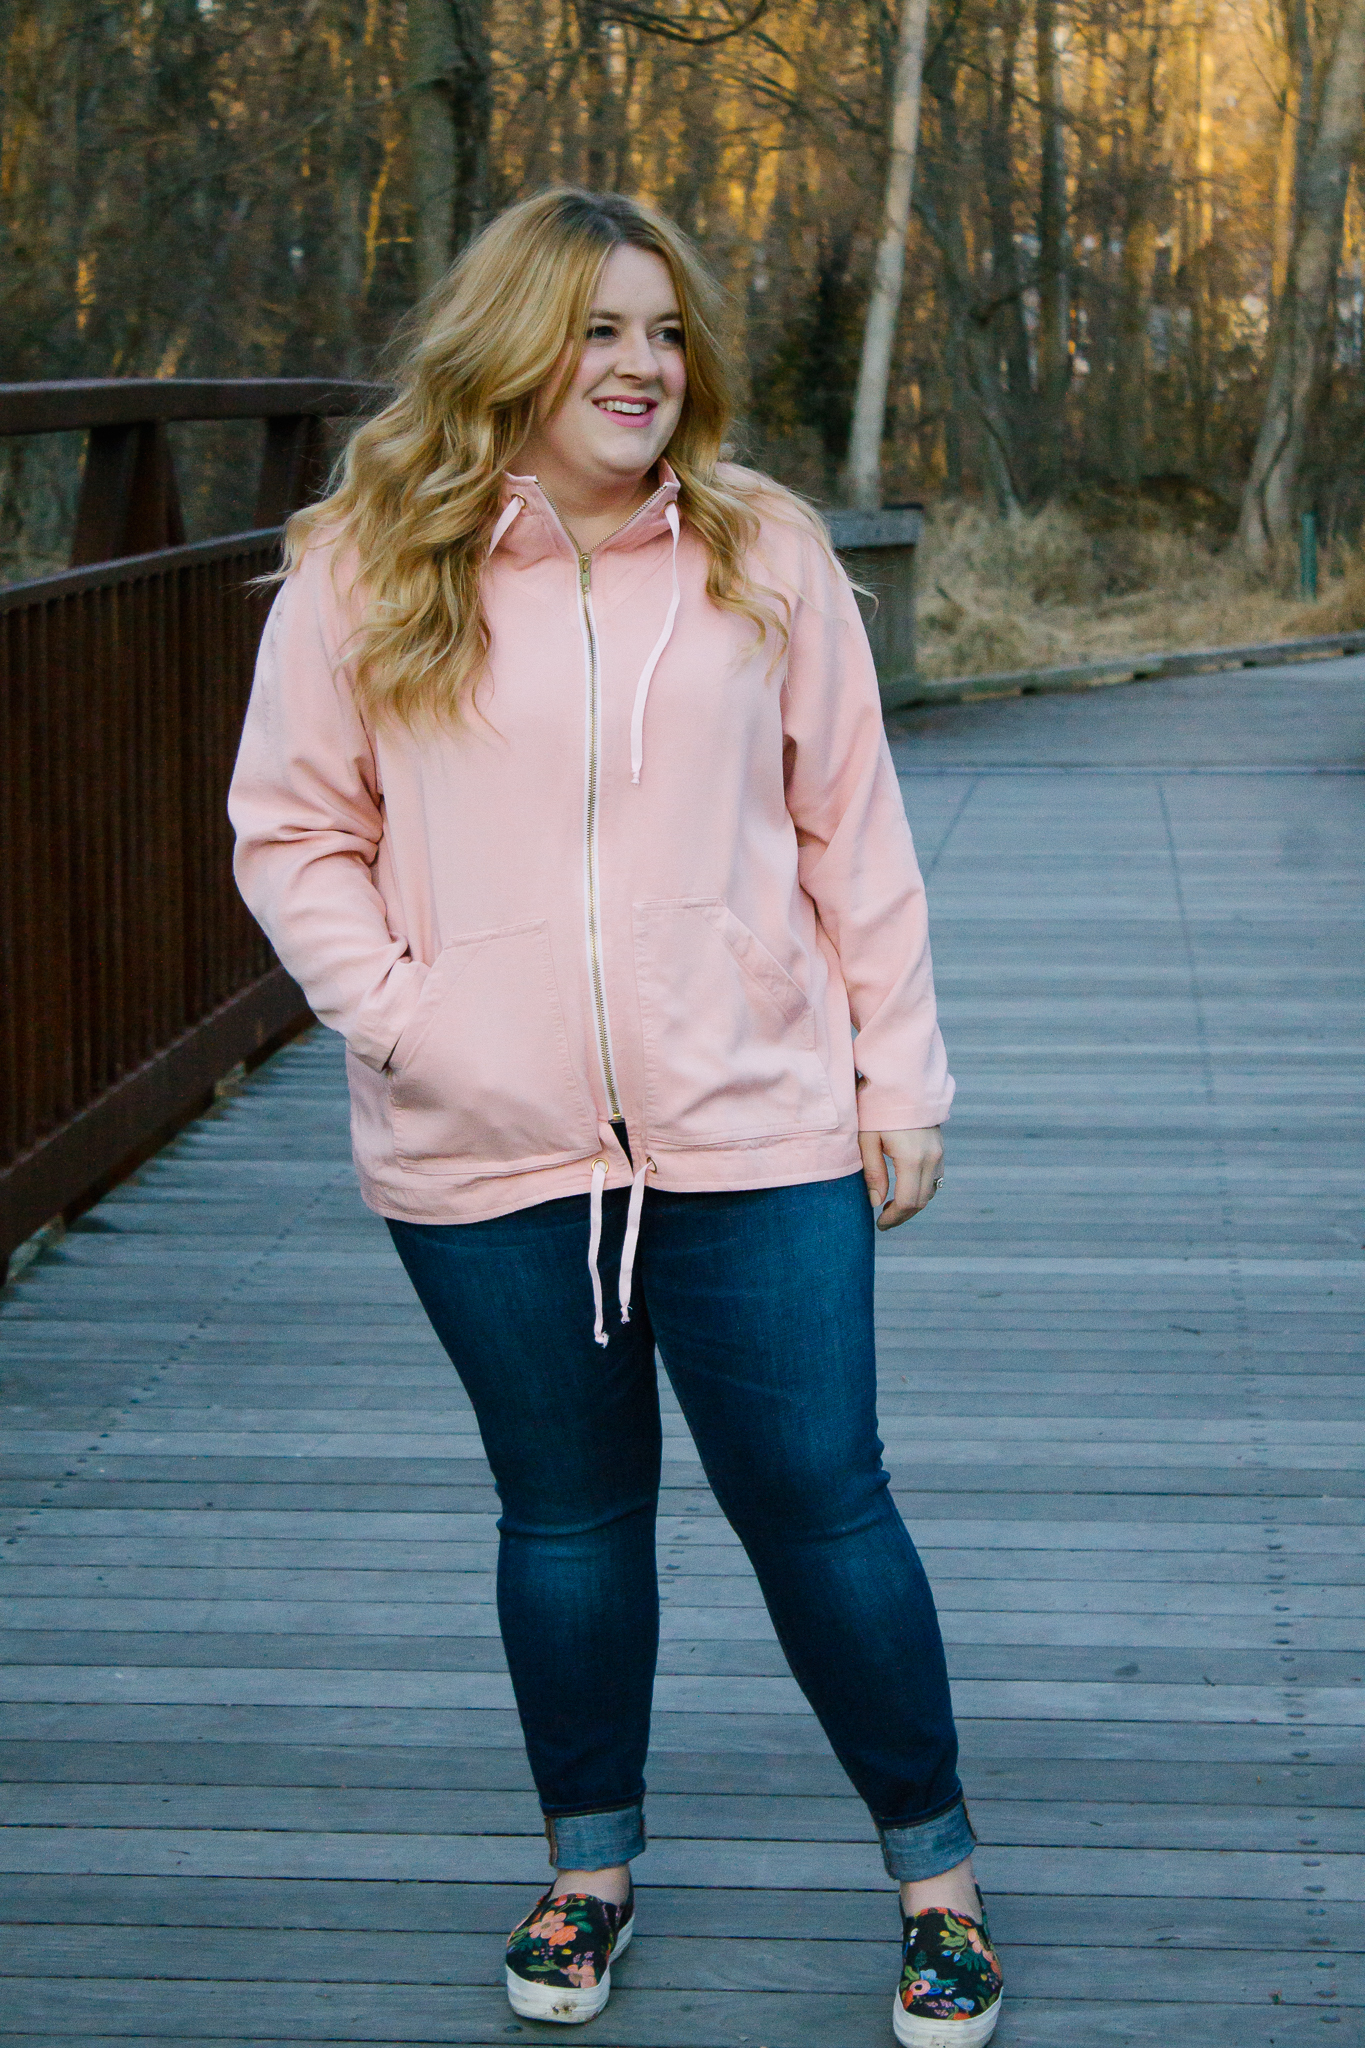
The Joy Jacket is a fabulous mid weight (I'd say light-mid weight) jacket with a full lining, two pocket options, and an optional hood. It has a relaxed fit so its great for layering in colder weather, but has great drape thanks to the recommended tencel or rayon twill fabric which wears nicely even with just a tee underneath. I sewed up the regular collar option because I know I pretty much never wear hoods, but honestly I love this jacket so much I'm tempted to sew up another, hooded version as well.

I added the angled (or kangaroo style) patch pocket because I like the way one's hands rest easily in that shape, but there's also a square patch pocket, or of course none at all. I also chose to add the optional grommets and drawstring--hardware is such a game changer on handmade garments and really creates a polished finish so I love that this detail is included in the jacket.

Here are the alterations I made:
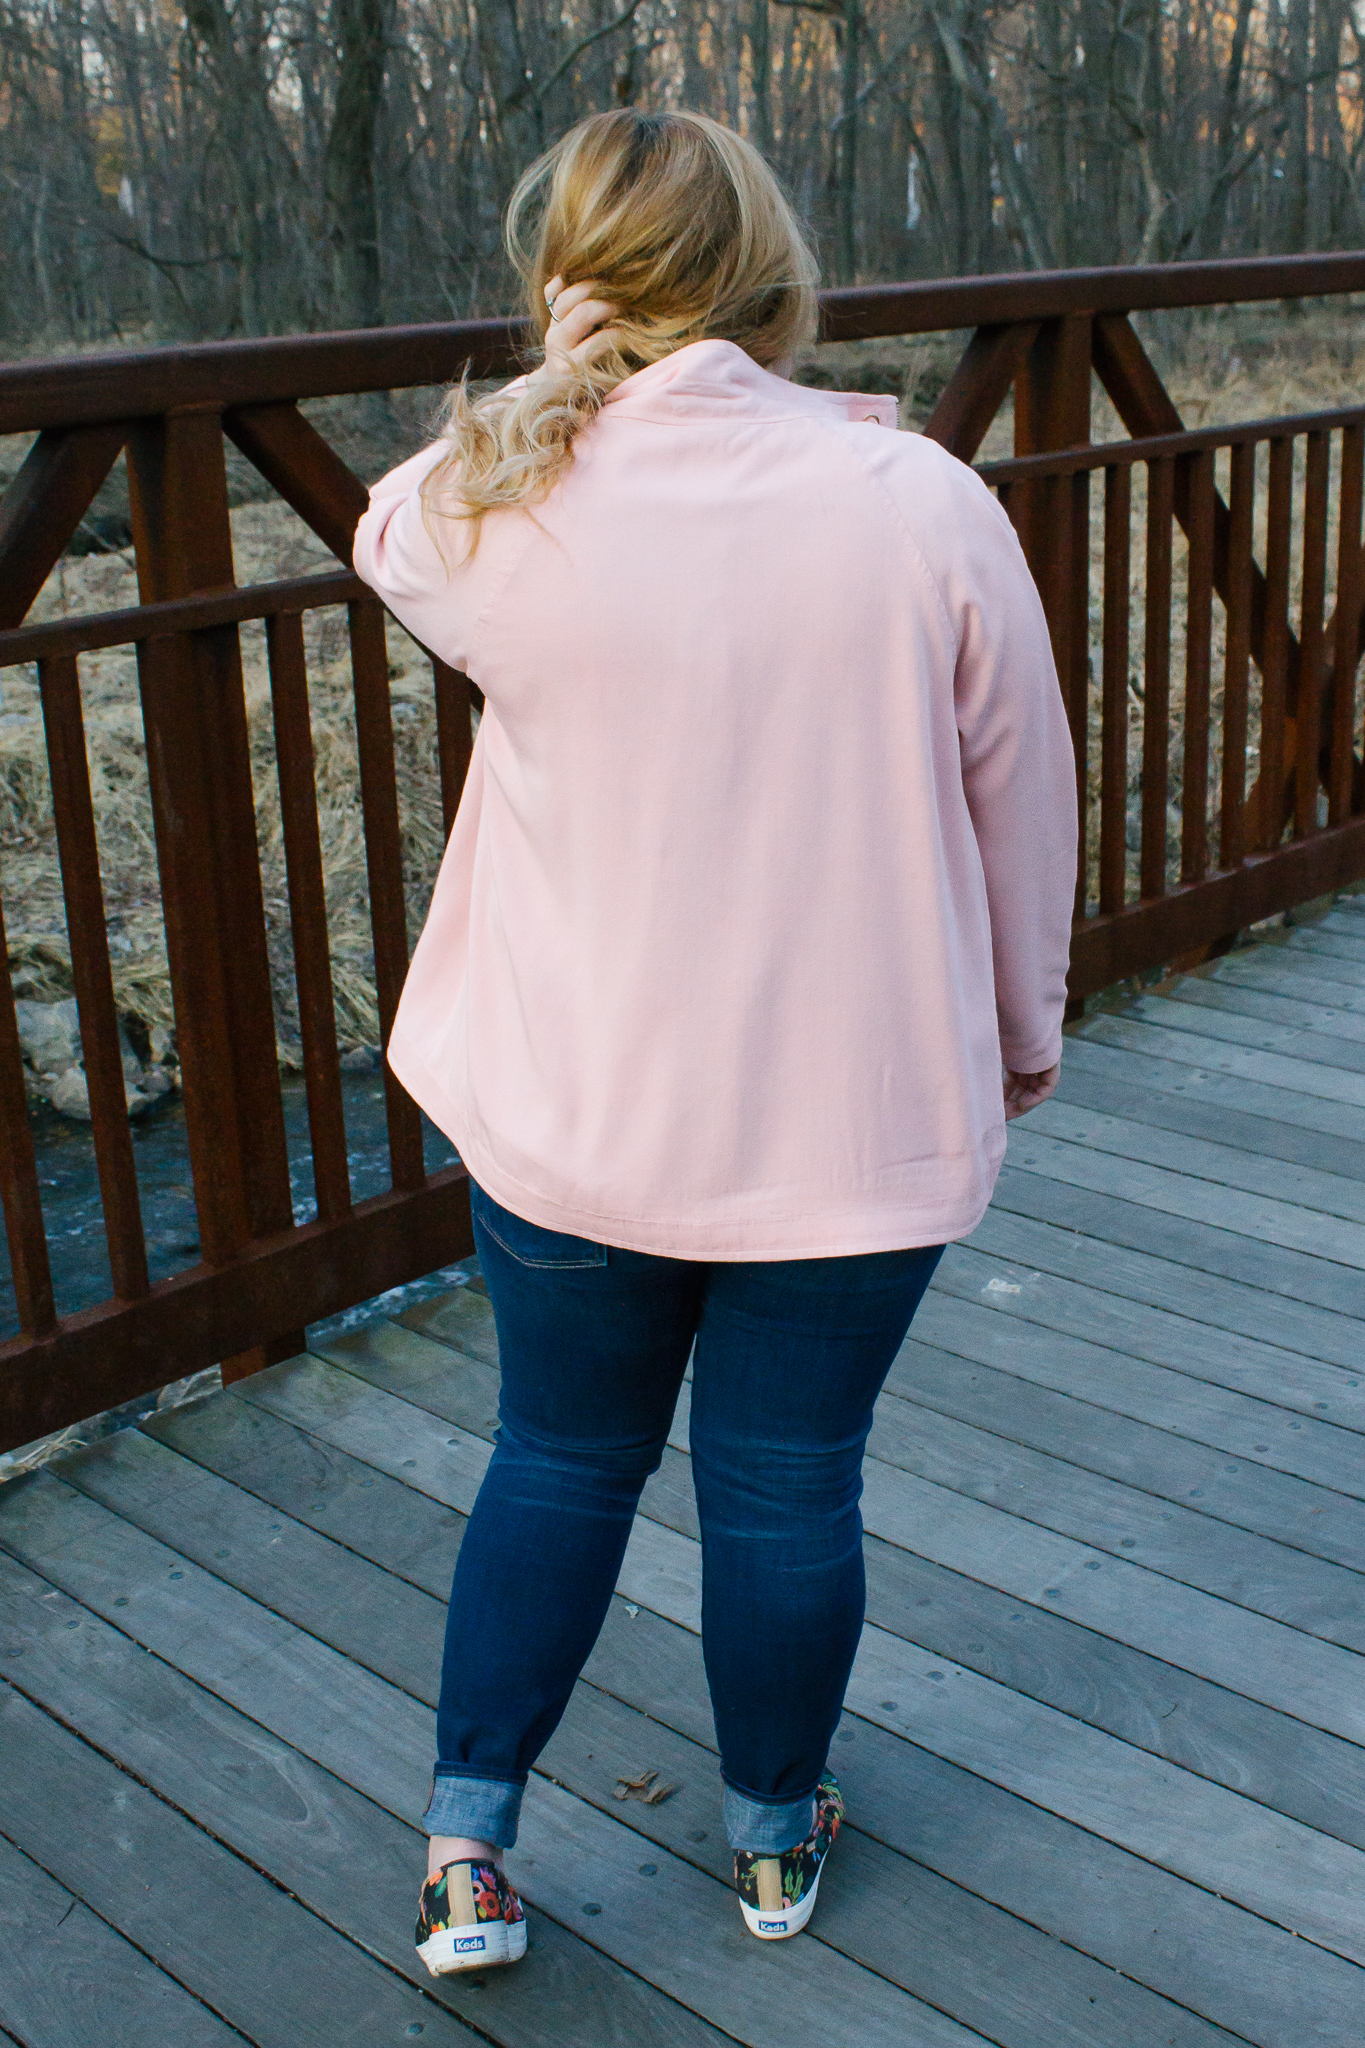
- Shortened the bottom hem 3.5"
- Shortened the sleeve hems 4"
- I made a straight 18 but next time I'd try a 16 with a full bust adjustment. Knowing I don't layer much, I'd like to have it a little slimmer.

Joy is a fully lined jacket which looks great, but what makes it exceptional is *how* its attached to the outer jacket. While most patterns bag and turn the jacket right side out through the bottom hem (meaning you have a good amount of hand sewing to do in a fairly visible location), the Joy is turned through a small opening in the sleeve lining. This creates a flawless hem and hides the opening inside the sleeve. Genius! And bonus: if you're like me and don't feel like hand sewing the opening shut, you can just do it with the machine and no one's the wiser.
One of the reasons I jumped on the chance to test this pattern despite having already sewn two jackets/coats recently was the quality of Chalk & Notch patterns. I knew this jacket would be awesome. The assembly is smooth, the instructions are clear, the fit is as expected, the result is beautiful. Frankly, These patterns are just plain good. I've said numerous times that using a Chalk & Notch pattern is a low stress pleasure, and I mean it--and no, I'm not being paid to sing their praises! So if you haven't given outerwear a go, this is a great pattern to start with.
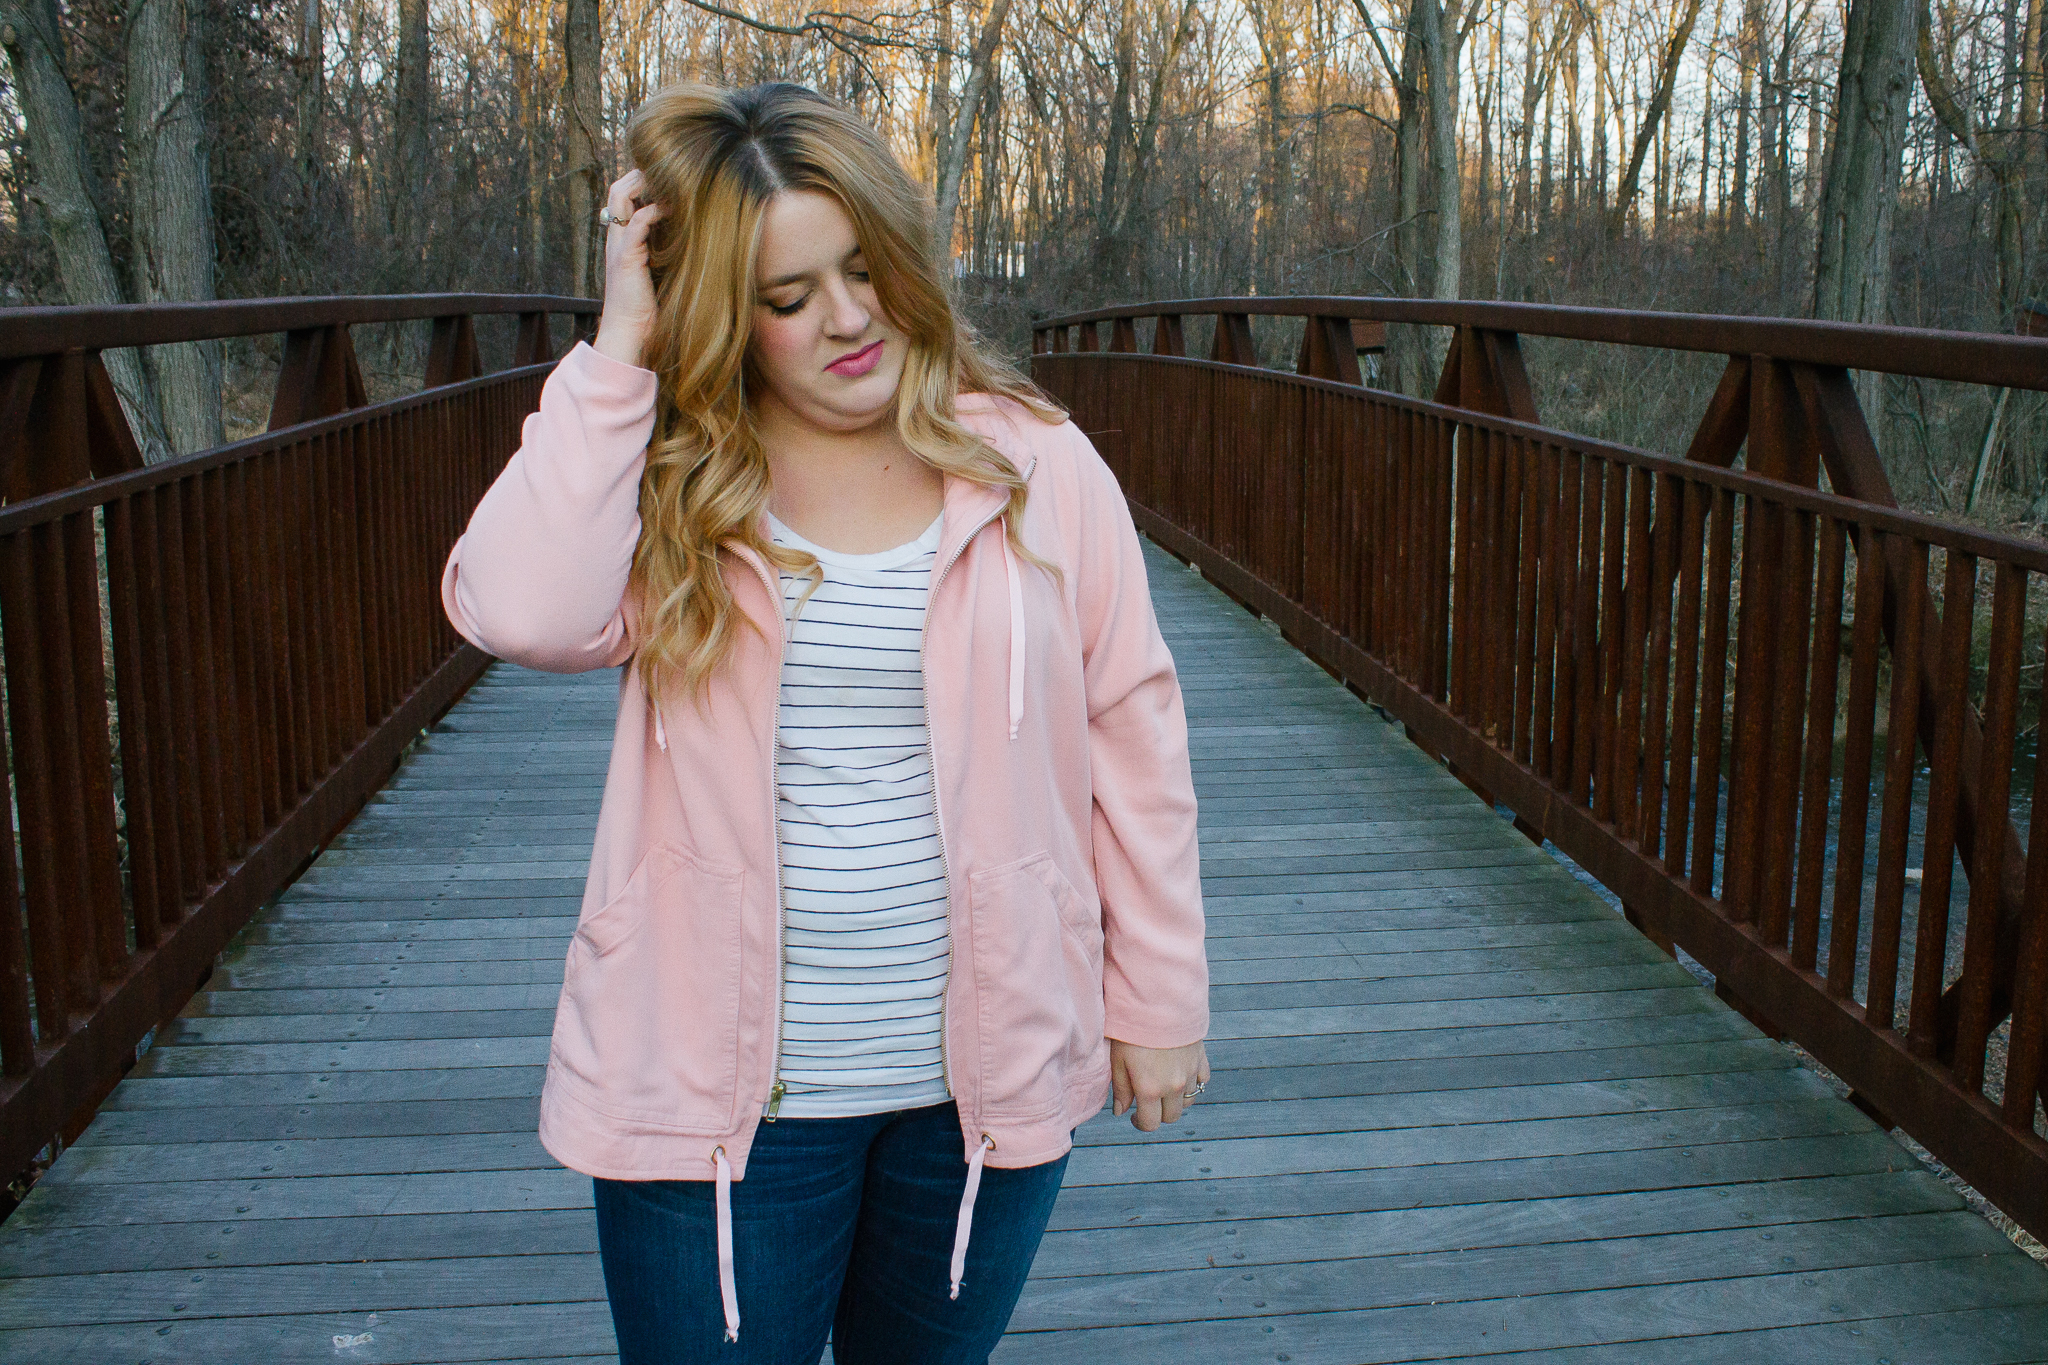
If you know me, you know pink is my jam, so it was only fitting I make a light pink jacket--how great is this going to be for spring? I can't wait. During testing there was a lot of talk about sourcing fabric and materials because fabric choices will really affect the final look of your jacket. Here's where I sourced my materials:
Outer jacket: pink tencel gabardine twill. While I'm happy with the final product, my fabric arrived late and stained + musty, so instead I'd recommend the rayon and tencel twills from shops like Blackbird fabrics, Harts (they also have some suitable linen), and la Mercerie. Fabric.com also has a couple tencel twills, as well as the Robert Kaufman fineline twill which another tester used successfully.
Lining: pebble satin crepe. You want something that will allow your arms to slide in and out of your sleeves easily. You could also use flannel for a warmer body lining and a rayon or satin option for just the sleeves.
26" metal separating zipper. Some sizes require longer, some shorter. I had to shorten it another two inches to accommodate my shortened hem. Read here for instructions on how to shorten a metal separating zipper that will be exposed in the final product.
3/8" Metal grommets. I liked the size and weight of these ones for the jacket, but other testers used 1/4" grommets as well. You just want to make sure you can pass a small safety pin through the hole for threading the drawstring through.
Fusible tricot interfacing. This is Gabriela's interfacing of choice and it works great for adding a little stability to the jacket but not affecting the drape.

I am so excited for spring to arrive and to sport my new pink Joy Jacket. Its everything I've wanted in a lightweight jacket and more. Head to Chalk & Notch's site to grab your copy--you're gonna want this one!
***Also, I love the Joy Jacket pattern so much, I want you to have one too. So I'm doing a giveaway on Instagram! Head over to megmadesewing to enter for a chance to win a free copy of the Joy Jacket pattern. Giveaway ends February 25 at 9p EST. Hop to it!***
This review is my honest opinion of a pattern I received free of charge from Chalk & Notch as a tester for the Joy Jacket pattern.