
DIY Family Heirloom Denim Jacket with Spoonflower
This post is my honest opinion using fabric I received free of charge from Spoonflower.
A few months ago while visiting family I noticed a piece of fabric folded up on a dresser in my Dad’s house. It being pink I was immediately interested in what it was, and I unfolded it to discover an original flour sack panel from my Great Grandfather, Lauren Verne Conrad’s mill in Missouri. I absolutely loved the pink fabric and the beautiful illustration and asked my Dad if I could have it. He said yes, under one condition: that I “don’t do anything artsy fartsy with it”.

I took the flour sack home and thought about what I could do with it without altering the panel itself. I was so inspired by the feed sack shirt Catherine Nolan made last spring, but again, I couldn’t cut in to the original. And then I realized: why don’t I just print a copy? I knew Spoonflower would be great for bringing my idea to life and partnered up with them to create a couple projects featuring my Great Grandfather’s flour sack.

Since the heirloom textile is for a flour mill, pretty much any kitchen item would be a perfect match for a custom printed project. I chose to create an apron and pot holders to highlight the gorgeous artwork, but tea towels, a stand mixer cover, or even fabric napkins would also be awesome ways to use the flour sack illustration. You can find the tutorials for digitizing the textile, creating the layouts for Spoonflower printing, and making the pot holders and apron on Spoonflower’s blog.

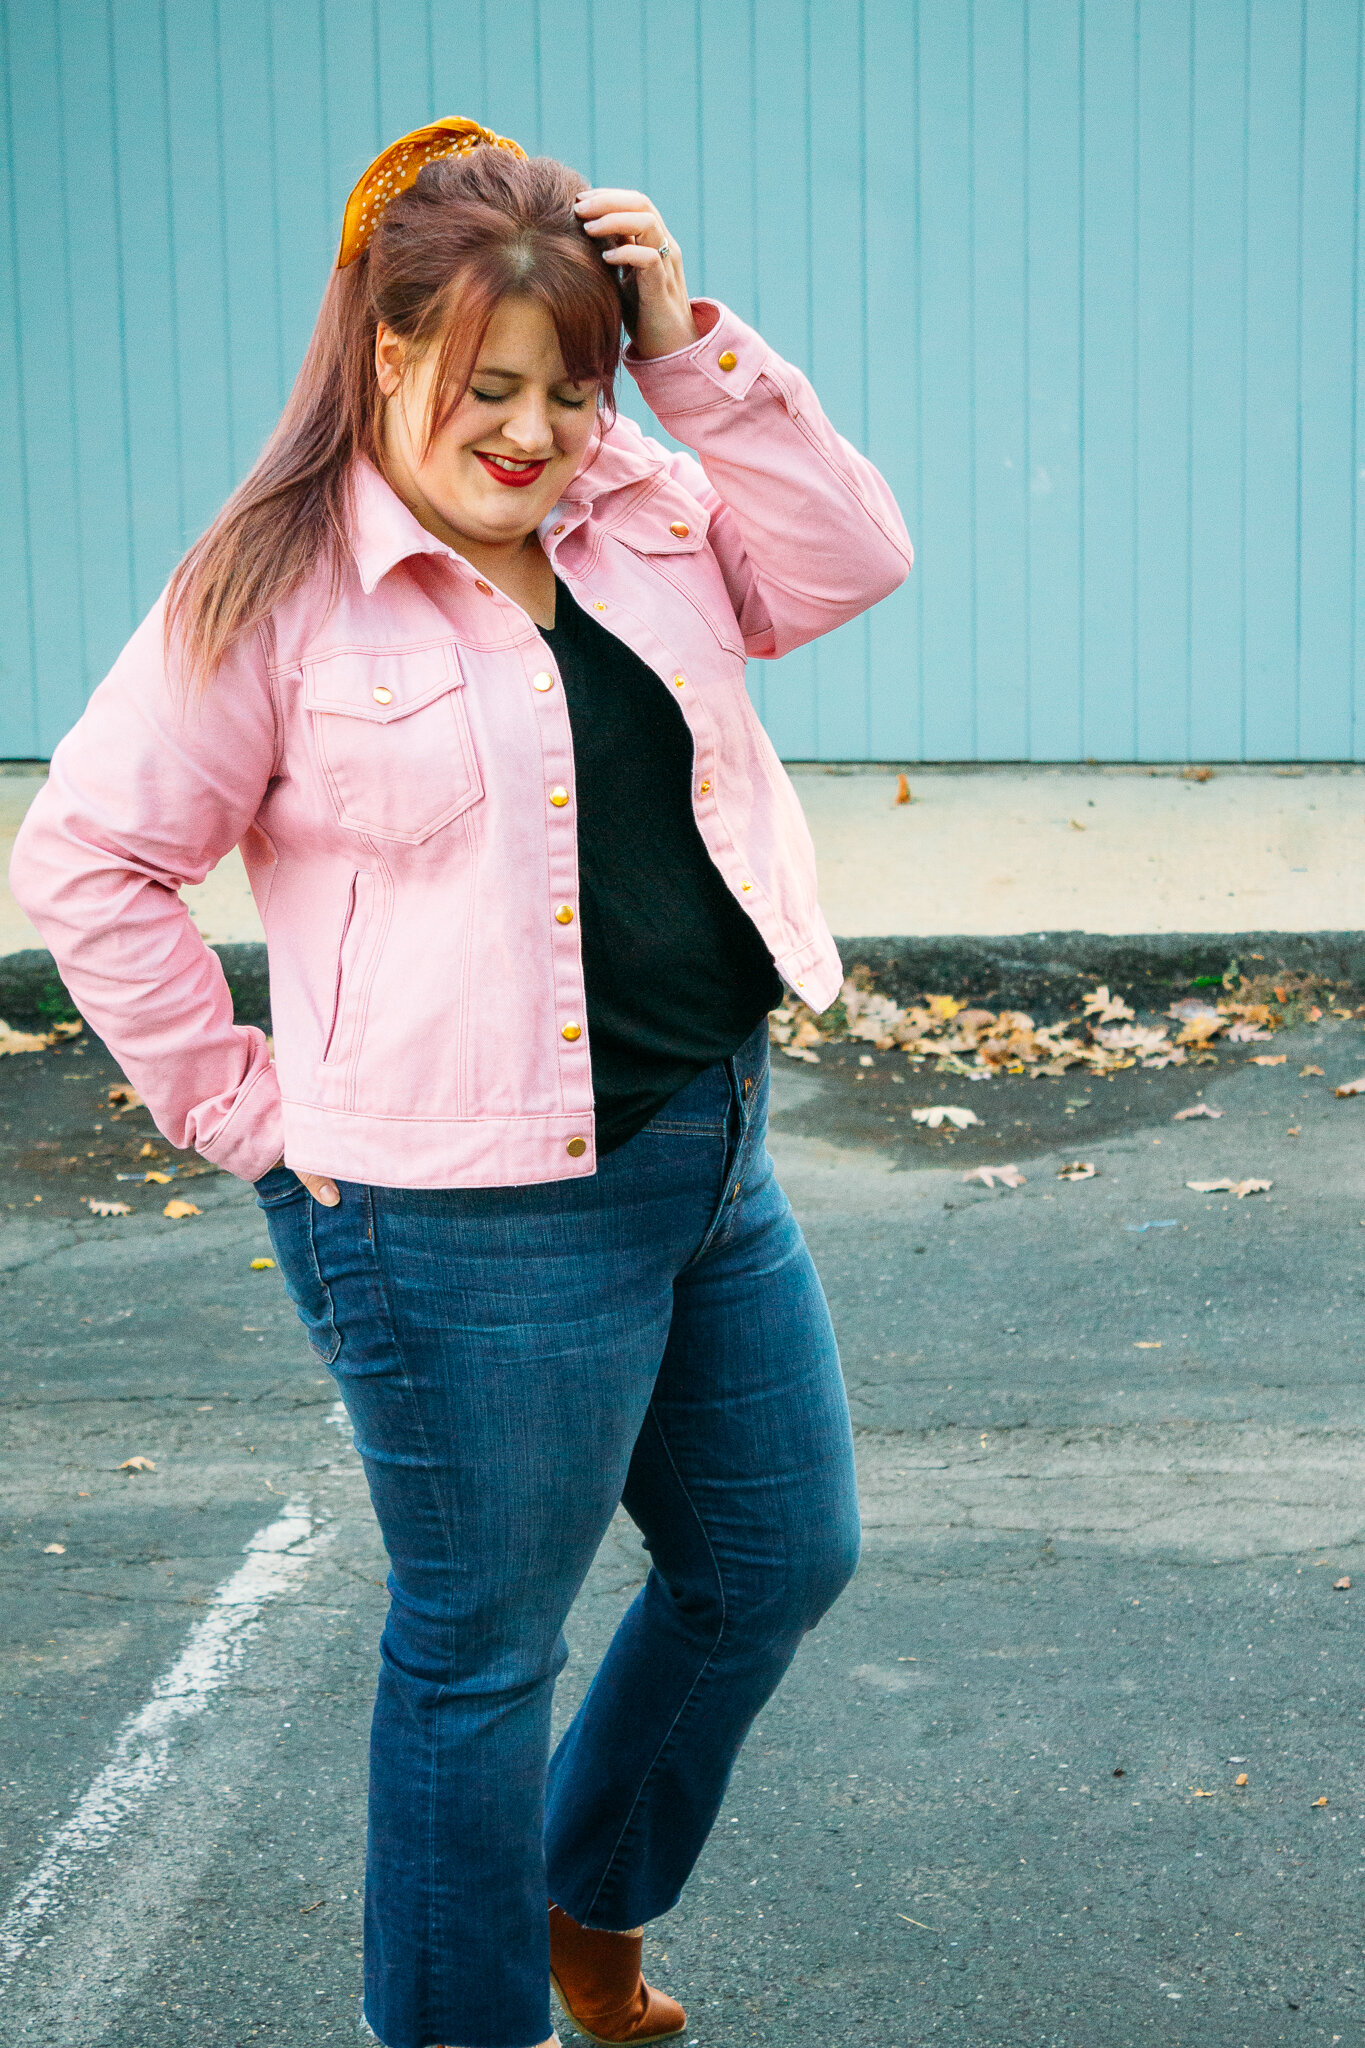
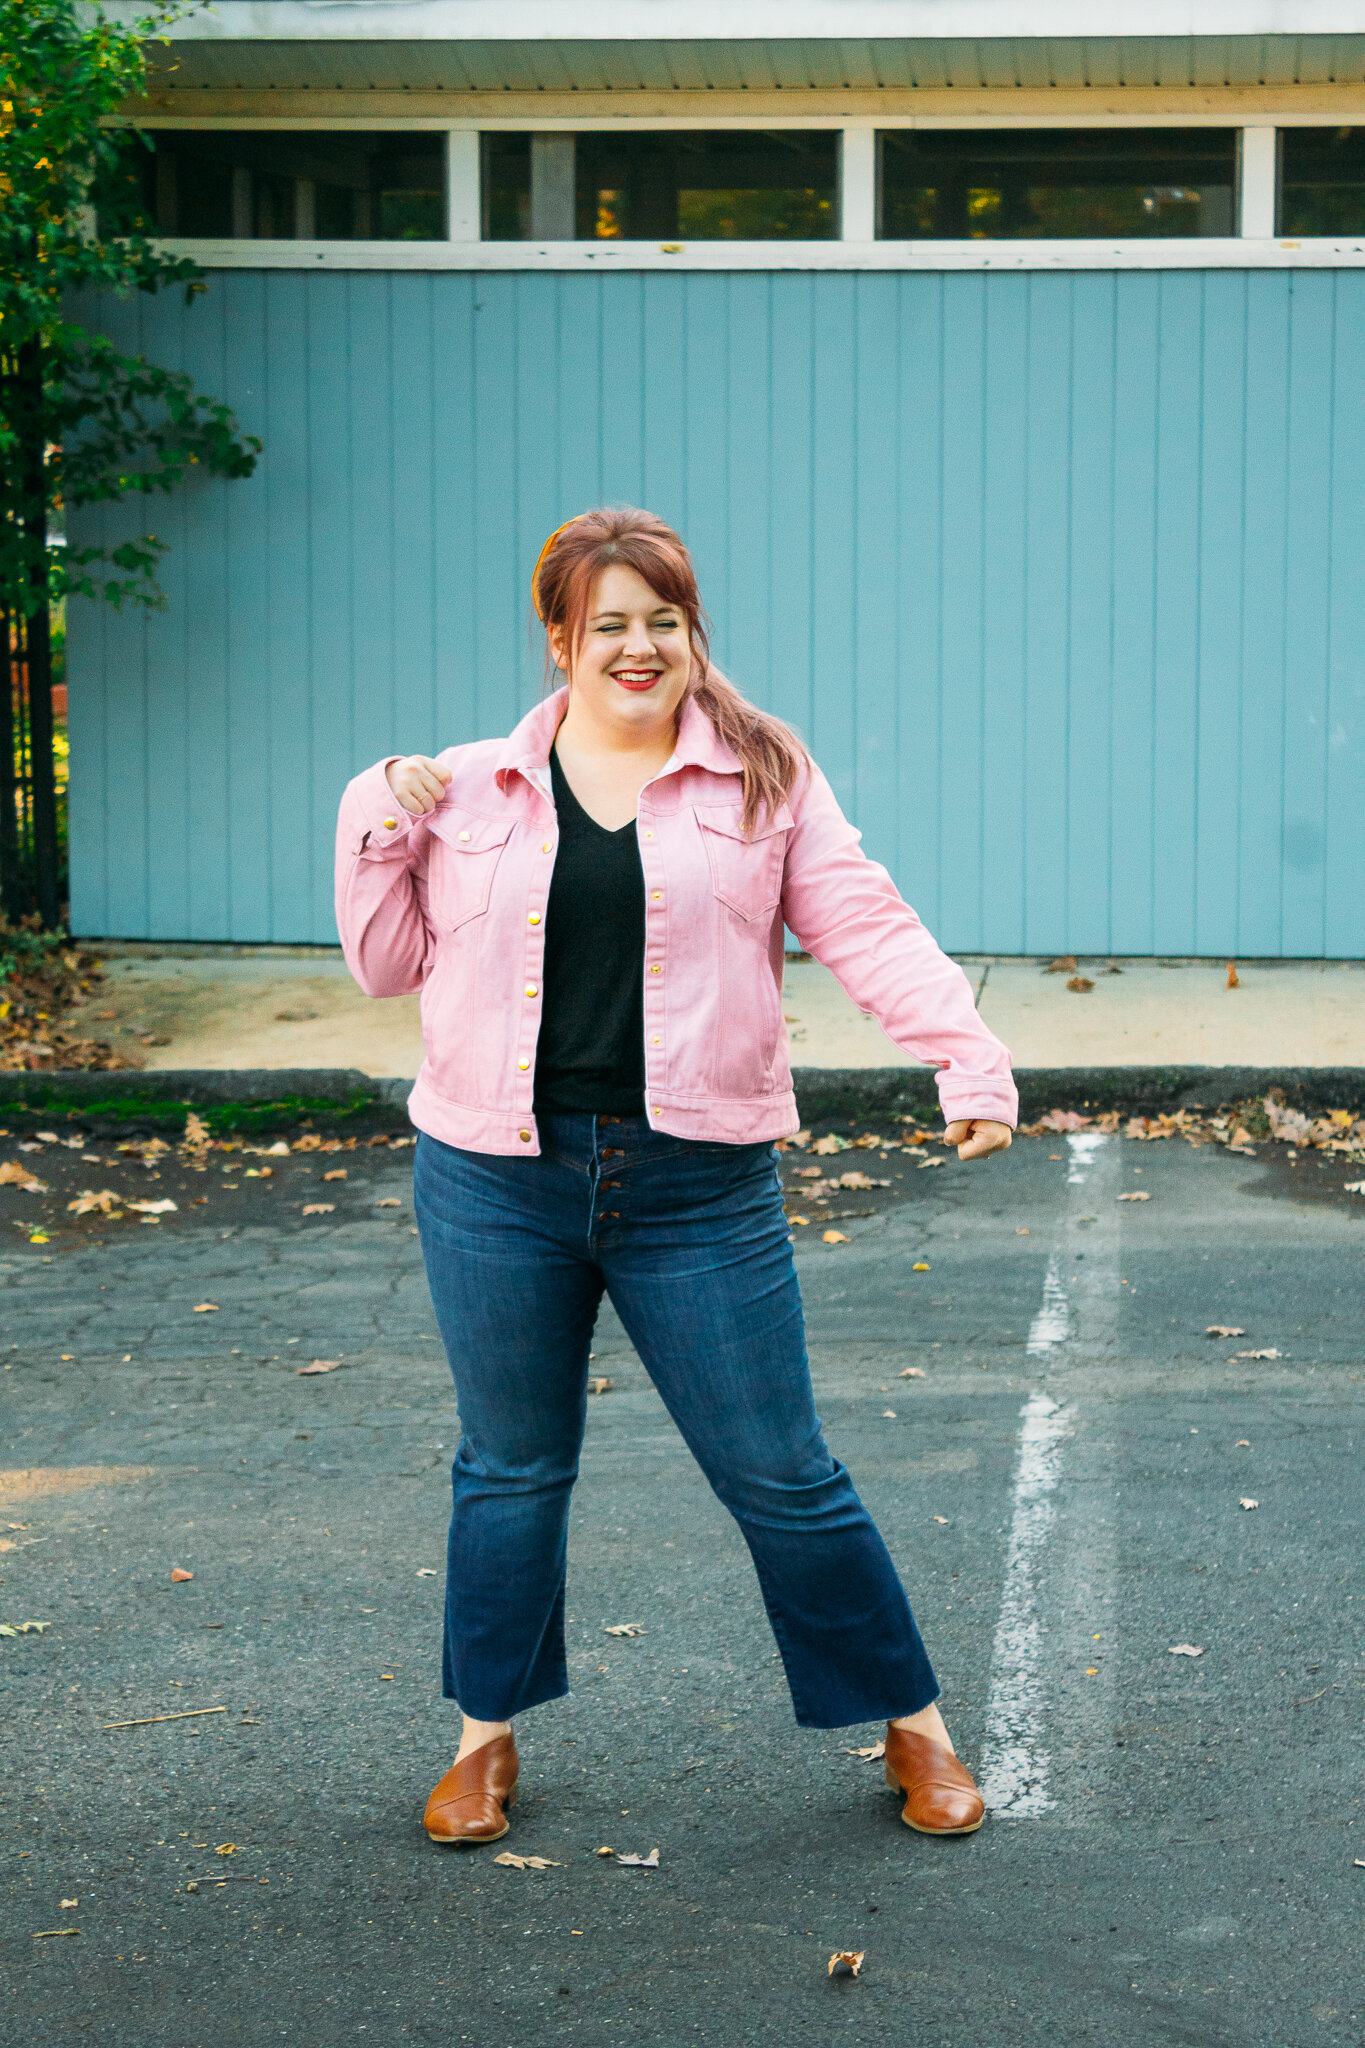
I love the apron and pot holders I made, but this? This is my baby. I couldn’t love how this denim jacket turned out any more than I already do. In fact, until this project I had pretty much determined that I would never even make a denim jacket because it didn’t seem like something I’d ever wear. But a pink denim jacket? With a family heirloom printed on the back? My sentimental and pink loving self was head over heels for this idea. Just like the apron and pot holders, this jacket took some prep and forethought, but the magical feeling of holding my custom printed denim was so worth the upfront work to make it happen.

To see how I digitized the flour sack panel make sure to head to my post on the Spoonflower blog. Next, the design had to be formatted for printing and to fit my jacket pattern pieces. The process was similar to creating the apron and pot holder panels so give that a read, but I’ll cover what I did for the jacket in particular here.

First I checked the printable dimensions of the fabric I wanted to use. After thumbing through the sample pack of fabric bases from Spoonflower I decided I wanted a true denim jacket and went with their Dogwood Denim. This is some legit stuff! Its a solid weight of 11.7oz and feels like a quality, sturdy non-stretch denim, just like you’d want for a denim jacket.

The Dogwood Denim has a printable width of 56” so I created a Photoshop file measuring 28” x 36” (half the width of printable fabric). Next I needed to decide how big to make my flour sack panel for the back of my jacket. I measured the center back pattern piece of the Kingston Jacket by Rebecca Page and subtracted the seam allowances, which left me with my printable size. Next I scaled my design to fit these dimensions and placed in my file, making sure the design had enough room on the sides for cutting the pattern piece. I filled in the background the same way I did for the apron panel, and saved this image.

Once my design files were ready and uploaded to my Spoonflower Design Library I utilized Spoonflower’s Fill-A-Yard® feature with a vertical split yard design. I placed my jacket back half panel that I just created on one side, and the plain background I made when digitizing the flour sack, on the other side. The hardest part is done! Of course I needed more yardage of the plain pink background so I ordered another yard of denim with a tiled repeat of the background image created earlier.

*As I mention in my Spoonflower blog post, its important to know that Spoonflower’s printing process is best suited to patterns in which colors are broken up by the design, rather than a large solid block of color. However, using the method in my blog post that leaves some of the irregularities from scanning the woven fabric in our digital file compensates for this and blends nicely with any potential discrepancies in printing (though I will say my denim printed pretty flawlessly, regardless of the subtle crosshatching from the digital image).*

Now, I’ve prided myself before on being a bit of a pattern tetris master and I thought 2 yards total would be sufficient for my jacket (instead of the recommended 2.5 yds of 60” wide fabric). As I cut out my last pattern pieces I even thought to myself, “Dude! I can’t believe I did it!” But I flew too close to the sun, folks, and came crashing down when I realized my three year old daughter had taken my sleeve pieces and was using them as a coloring book. Of course this wouldn’t have been the end of the world because I could’ve just ordered more denim. But by a fortuitous accident, I actually already had more yardage—my first order had accidentally be printed on the wrong side of the denim and before I had even noticed, Spoonflower had already caught the error and reprinted and shipped another order out to me (top notch customer service there). Since flour and feed sacks have a long tradition of utilizing what materials were already available, I decided to put the “defective” denim to good use and cut the printed wrong side for my sleeves. I also used it for the chest pockets and back tabs so hey, now its a design choice instead of a mistake!
All of this to say: learn from my example. Go ahead and order two yards of the background print.

Cutting and sewing the jacket was pretty straightforward. I tell ya what though—I enjoy sewing jeans, and I enjoy sewing outerwear, but denim jackets are an entirely different beast. Even without doing flat felled seams (in an effort to expedite the sewing process), it still took several sessions to complete which is not my normal pace. Even so, the extra effort was rewarding as I appreciated the gorgeous topstitching and the custom print of my family heirloom on the back of my jacket. And the Dogwood Denim is so nice for a jacket—even my denim enthusiast husband was impressed with the jacket and tried it on a few times! You’ll want to use typical denim sewing tools like a heavy duty denim needle, quality topstitching thread, a jean-a-ma-jig or “hump jumper” (invaluable!), and a good iron (steaming your pieces frequently as you work will keep it from warping and stretching), but I found the Dogwood Denim great to work with.

I am thrilled to have this denim jacket in my closet and my collection of makes. I love that, thanks to Spoonflower making custom fabric accessible to home sewists, I was able to use a family heirloom for a one of a kind garment while still preserving the original flour sack. And now that the initial work of digitizing and creating printable files is done, I can repurpose my images for an abundance of other projects—I think the stand mixer cover might be next on my list! And of course, sentimental, personalized handmades make such wonderful gifts and I couldn’t be more proud to gift the family heirloom pot holders and apron that I created with Spoonflower.
What special keepsakes would you digitize and print with spoonflower? If you make a similar project I’d love to see it! Make sure to tag it with #spoonflower and #megmadesewing when sharing on Instagram.
Thanks for reading along!